
Creating your own moisturiser allows you to customise it to your skin's specific needs while avoiding harsh chemicals. This simple recipe will guide you through making a nourishing and hydrating DIY moisturiser.
Ingredients:
- 1/4 cup shea butter
- 2 tablespoons carrier oil (such as jojoba oil, sweet almond oil, or avocado oil)
- 1 tablespoon coconut oil
- 10-15 drops essential oil (lavender, chamomile, rose, or your preferred scent)
- Optional: Vitamin E oil (for extra nourishment)
- Airtight container for storage
Instructions:
-
Prepare Your Work Area: Ensure your workspace is clean and sanitised. Gather all the necessary ingredients and utensils.
-
Choose Your Ingredients: Shea butter is deeply moisturising, carrier oils provide nourishment, and coconut oil adds additional hydration. Select carrier oils that suit your skin type and concerns.
-
Melt the Ingredients:
- In a double boiler or microwave-safe bowl, melt the shea butter and coconut oil until they're completely liquified. Use gentle heat to avoid overheating.
-
Add Carrier Oil: Once the shea butter and coconut oil are melted, remove from heat and stir in the carrier oil. This will enhance the moisturising properties and make the mixture smoother.
-
Cooling and Mixing:
- Allow the mixture to cool for about 15-20 minutes. It should start to thicken, but not solidify.
- If you're using Vitamin E oil, add a few drops to the mixture. Vitamin E is rich in antioxidants and can help extend the shelf life of your moisturiser.
-
Add Essential Oil: Add 10-15 drops of your chosen essential oil for fragrance and additional skin benefits. Mix well to distribute the essential oil evenly throughout the mixture.
-
Whip the Moisturiser:
- Use a hand mixer or a whisk to whip the mixture. Start at a low speed and gradually increase to medium-high.
- Whip for 5-10 minutes or until the mixture is light and fluffy, resembling the texture of whipped cream.
-
Transfer to a Container: Carefully transfer the whipped moisturizer into a clean, airtight container. Make sure the container is dry and free from any moisture.
-
Label and Store: Label your container with the type of moisturiser, essential oil used, and the date it was made. Store the moisturiser in a cool, dry place, away from direct sunlight and heat.
Usage:
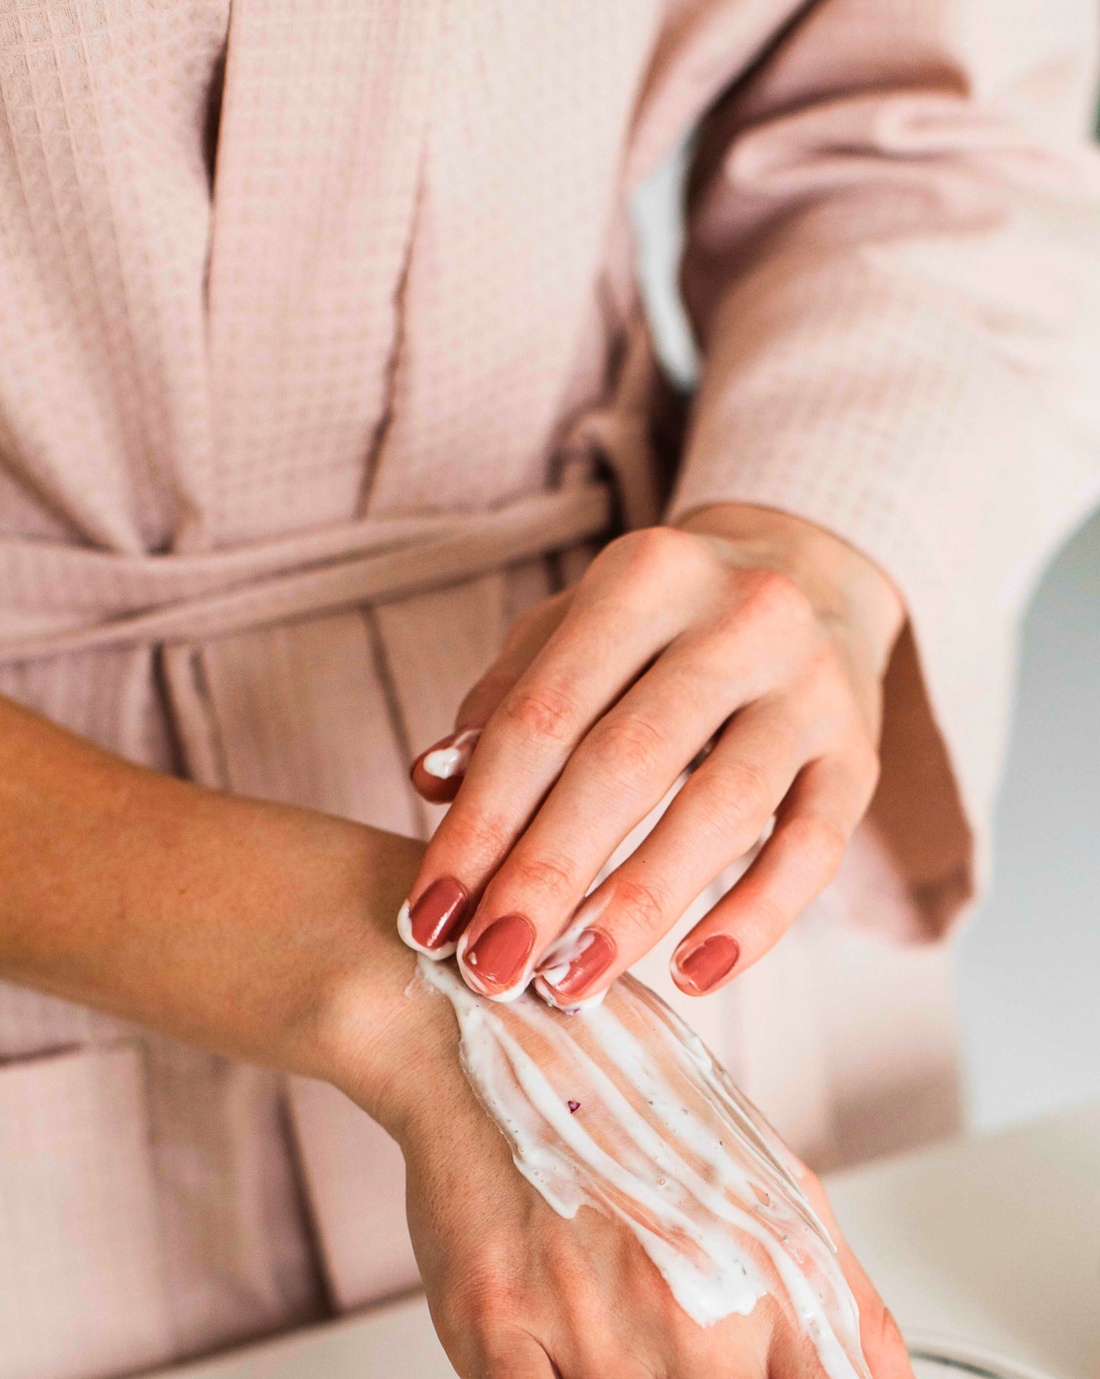
- After cleansing and toning your face, apply a small amount of the DIY moisturiser onto your skin.
- Gently massage the moisturiser into your skin using upward, circular motions.
- Use morning and night as part of your skincare routine.
Note:
- Perform a patch test before applying the moisturiser to your face to ensure you don't have any adverse reactions.
- The consistency of the moisturiser can vary based on temperature. It may be softer in warm weather and firmer in cooler conditions.
- This moisturiser is best suited for normal to dry skin types. Adjust the carrier oils and essential oils to match your skin's needs.
Enjoy the luxurious and personalised experience of using your homemade nourishing moisturiser!
